The right resolution and file size for a U.S. digital passport photo
When it comes to applying for a U.S. passport, one small mistake can hold you back—your photo. Believe it or not, the government is super picky about digital passport photos. If the file is the wrong size, too pixelated, or even slightly off in resolution, your application might get tossed back. That’s frustrating, right? The good news is that you can avoid the headache by learning exactly what resolution and file size requirements the U.S. Department of State expects. In this guide, we’ll break everything down step by step—from pixel dimensions to file compression—so you can nail your passport photo the first time. Let’s dive in.
Why Resolution and File Size Matter So Much
When it comes to digital passport photos, resolution and file size aren’t just technical details—they are critical for identity verification. Passport systems use advanced facial recognition software to compare your photo against government records, and these systems rely on clarity and detail. A blurry or pixelated image can cause the software to misidentify your face, potentially delaying your application or even leading to rejection. High-resolution images ensure that every feature—your eyes, nose, mouth, and facial contours—is captured clearly, giving the system the accuracy it needs.
File size plays an equally important role. A photo that is too small in file size often results from excessive compression, which can erase subtle details in your face and create visual artifacts like blockiness or blurriness. Conversely, an overly large file can exceed the system’s upload limits, causing errors during submission. Striking the right balance between quality and file size is essential. The U.S. passport guidelines specifically require JPEG files between 54 KB and 240 KB, so you have to pay attention to both dimensions and storage size.
Beyond the technical aspects, think of your passport photo as a first impression—or even a “digital handshake”—with the government. A high-quality image signals reliability and professionalism, while a poor-quality photo can create unnecessary hurdles. Even if your personal appearance is perfect, a low-resolution or improperly sized image can make it seem unclear or suspicious to automated systems and human reviewers alike. Ensuring proper resolution and file size demonstrates that you’ve followed official guidelines carefully.
Finally, resolution and file size also impact how the photo will print. Passport photos are not just digital—they are reproduced on official documents where detail is crucial. Low-resolution images may look acceptable on a screen but become blurry or pixelated when printed. High-quality images within the correct file size ensure that your photo maintains clarity both digitally and physically, giving you peace of mind that your passport application will move smoothly through the system without unnecessary delays.
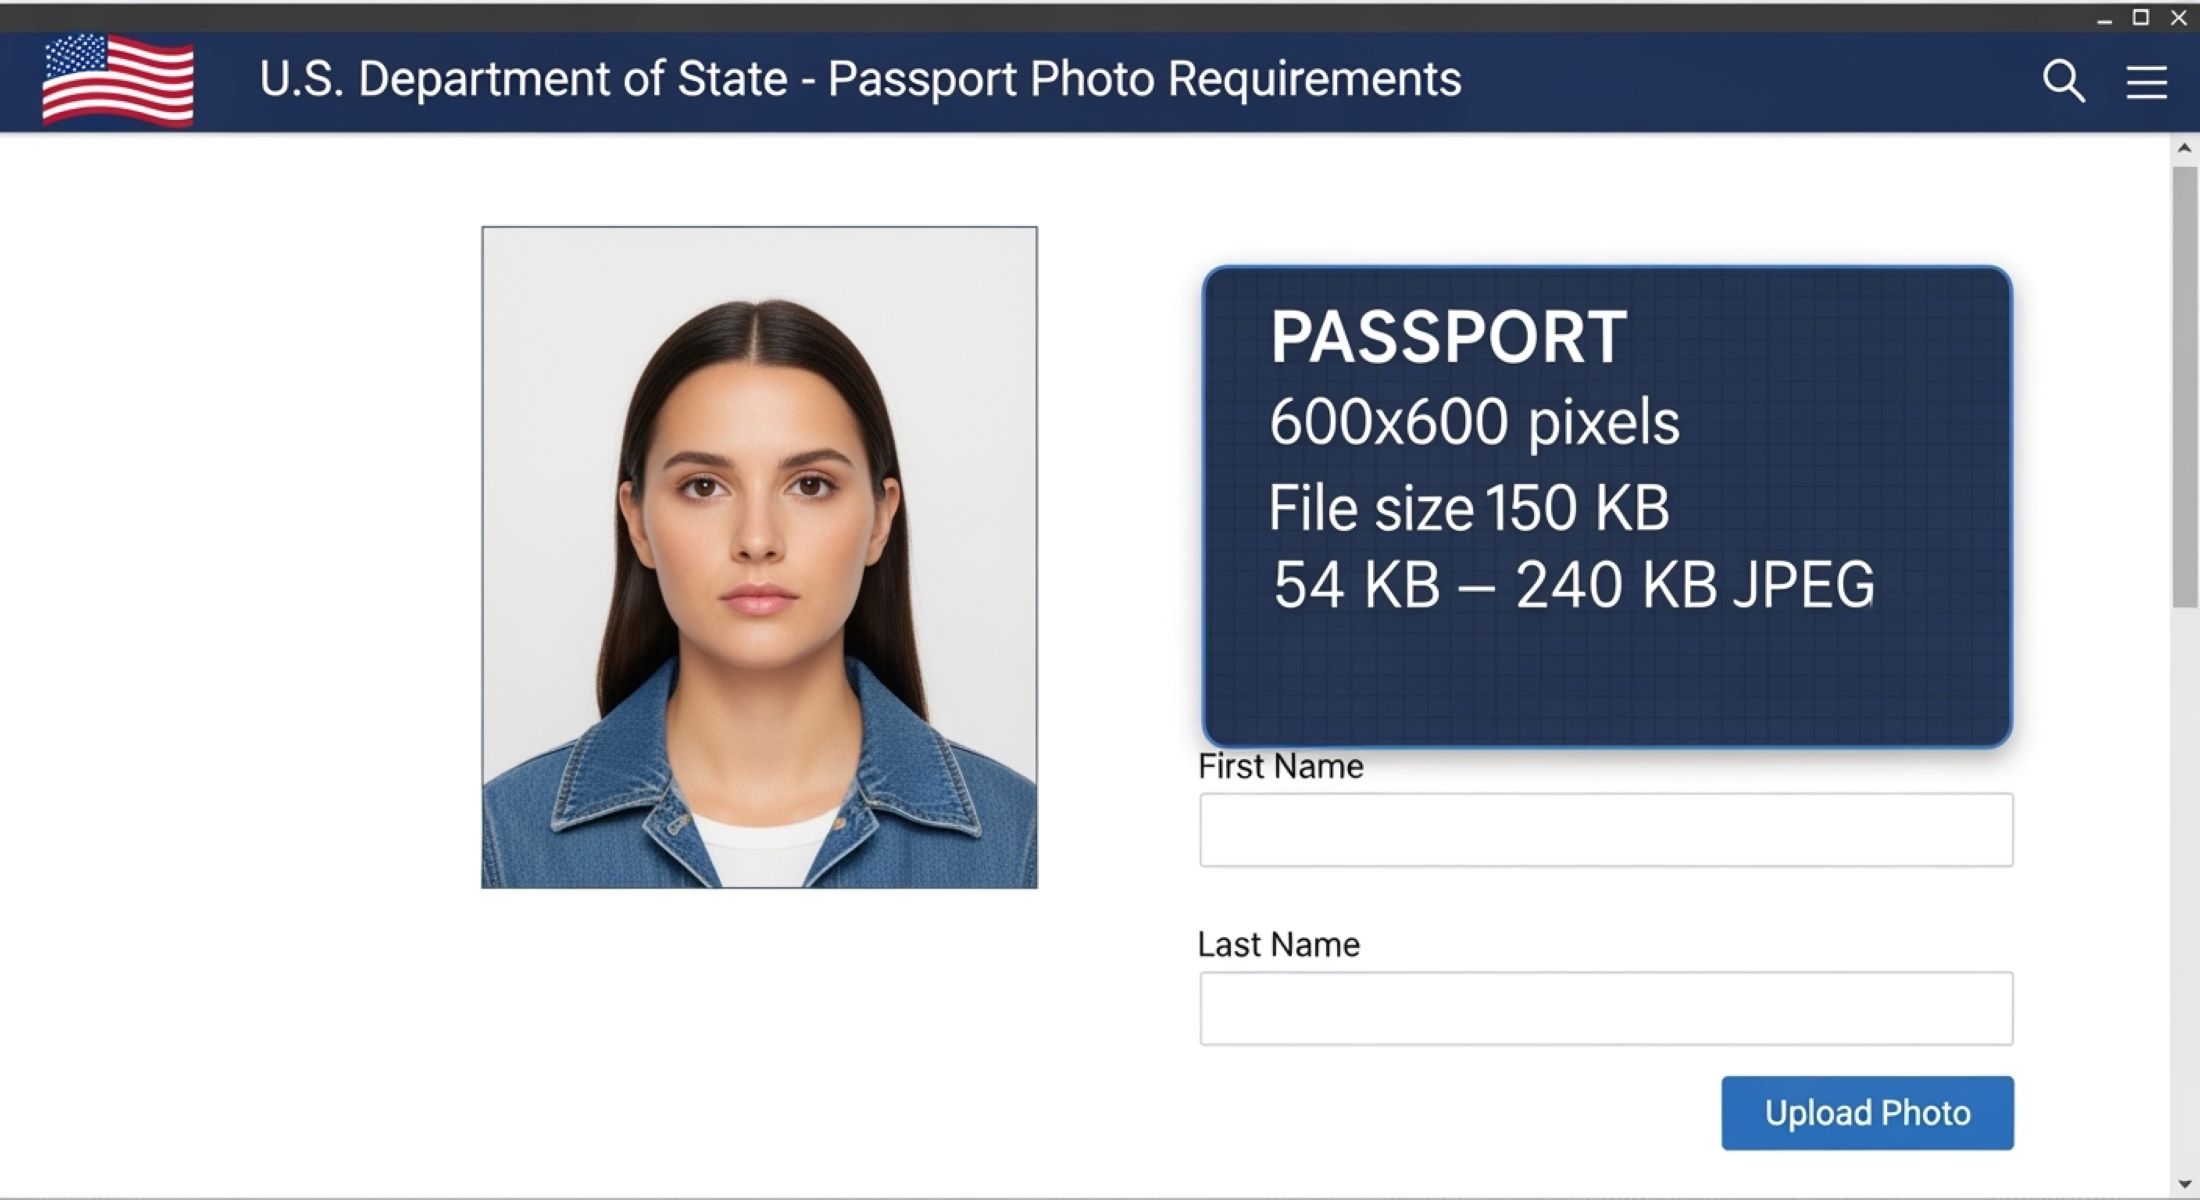
Official Requirements for U.S. Digital Passport Photos
| Requirement | Accepted Standard | Minimum | Maximum | Notes |
| File Format | JPEG (.jpg) | N/A | N/A | Only JPEG format is accepted. No PNG, TIFF, or other formats allowed. |
| Resolution | Square image | 600 x 600 pixels | 1200 x 1200 pixels | Ensures facial features are clear and recognized by software. |
| File Size | Balanced compression | 54 KB | 240 KB | Too small loses detail; too large may fail to upload. |
| Color Mode | 24-bit color, sRGB | N/A | N/A | Ensures consistent color reproduction across digital and printed photos. |
| Compression | Moderate JPEG compression | N/A | N/A | Avoid over-compression that makes the image grainy or blurry. |
Breaking Down Resolution: What 600 x 600 Pixels Really Means
Understanding resolution is key when preparing your U.S. digital passport photo. The numbers 600 x 600 pixels may seem small, but they play a critical role in image clarity, facial recognition, and overall acceptance of your photo. Here’s a detailed breakdown of what these pixel dimensions actually mean:
- 600 x 600 Pixels – The Minimum Standard
This is the bare minimum resolution accepted by the U.S. State Department. It captures the essential details of your face, but it leaves little room for cropping or adjustments. If your photo is taken under good lighting and with a quality camera, 600 x 600 pixels can work, but there’s a risk of losing subtle facial details, especially when printed or zoomed in. - 800 x 800 Pixels – Ideal Balance Between Size and Quality
Moving up to 800 x 800 pixels provides extra clarity while still keeping the file size manageable. This resolution is a sweet spot for most digital passport uploads because it captures finer facial details, reduces pixelation, and allows minor cropping without affecting compliance. It’s especially helpful if your facial features are smaller or if your background isn’t perfectly even. - 1000 x 1000 Pixels – Best Practice for Safety Margin
For those who want to be absolutely sure their photo meets all standards, aiming for around 1000 x 1000 pixels is a smart choice. This resolution provides flexibility for cropping and adjustments while maintaining excellent image clarity. Even if the system slightly compresses the file during upload, the details remain sharp, and you reduce the chance of rejection. - 1200 x 1200 Pixels – Maximum Allowed Resolution
This is the upper limit accepted by the U.S. passport photo guidelines. While it gives the sharpest detail and best clarity, photos at this size can result in larger file sizes, sometimes exceeding the 240 KB limit if not compressed correctly. Use this resolution if you have the proper tools to control file size while maintaining image quality. - Why Square Matters
Regardless of the pixel dimensions, the photo must remain perfectly square. A 600 x 600 or 1200 x 1200 image ensures the face is centered and aligned according to U.S. passport specifications. Non-square images risk rejection, even if the resolution is correct. - Pro Tip for Cropping and Adjustments
Always aim for a higher resolution within the allowed range (around 1000 x 1000 pixels). This provides a safety margin for cropping and ensures that your face remains clear and centered. Remember, it’s better to slightly downsize a high-resolution image than to try to enlarge a low-resolution one. - Practical Examples
- A 600 x 600 pixel image may work for quick uploads but might appear slightly soft on printed passports.
- An 800 x 800 pixel image maintains clarity, avoids graininess, and fits well within file size limits.
- A 1000 x 1000 pixel image is the safest choice for modern smartphone or DSLR photos.
- A 1200 x 1200 pixel image is best for high-end cameras but must be compressed correctly to meet file size requirements.
Understanding File Size Limits
File size is a crucial factor when submitting a U.S. digital passport photo, and it’s more than just a number. The system sets strict limits—anything below 54 KB or above 240 KB will not be accepted. A file that’s too small usually indicates over-compression, which can erase important facial details and introduce artifacts like pixelation or blurriness. On the other hand, a file that exceeds 240 KB is considered too large for the system to process efficiently, leading to automatic rejection even if the photo appears flawless on your screen.
A photo that is under 54 KB may seem convenient for quick uploads, but it can compromise the integrity of the image. Compression techniques, often used to shrink file size, can reduce sharpness, flatten colors, and distort subtle features. This matters because facial recognition software relies on precise details to verify your identity. Even slight blurriness or loss of contrast can trigger a rejection or delay your passport processing.
Conversely, exceeding the 240 KB limit can happen if the image resolution is too high or if the JPEG compression is set too low. Large files may cause errors during upload, slow down processing, or even crash online submission portals. It’s important to strike a balance—maintaining sufficient detail while keeping the file manageable. Most digital passport guidelines recommend staying in the 100–180 KB range for optimal quality and smooth submission.
Understanding file size also affects how your photo will look when printed on the physical passport. Even if a digital upload is accepted, images that are too small can appear grainy, while oversized files might need to be manually adjusted by passport staff, creating delays. By keeping your photo within the official file size limits, you ensure both digital clarity and print accuracy, making the entire passport application process smoother and more reliable.
U.S. Digital Passport Photo Specs at a Glance
| Requirement | Minimum | Maximum | Accepted Standard | Notes |
| Resolution (pixels) | 600 x 600 | 1200 x 1200 | Square aspect ratio | Ensures facial features are clear and properly centered. Faces must occupy the correct portion of the frame. |
| File Size (KB) | 54 | 240 | JPEG format | Too small loses details due to over-compression; too large may fail to upload. Optimal range: 100–180 KB. |
| Color Mode | 24-bit color | N/A | sRGB | Guarantees accurate color reproduction for digital verification and printed passports. |
| File Format | JPEG (.jpg) | JPEG (.jpg) | N/A | Only JPEG files are accepted. PNG, TIFF, or other formats will be rejected. |
| Compression | Moderate | N/A | Balanced JPEG | Avoid over-compression which causes graininess or loss of detail. Use 80–90% quality when saving. |
How to Check Resolution Before Uploading
Ensuring your digital passport photo meets the required resolution is one of the most important steps in avoiding delays or rejection. Checking your photo’s resolution may seem intimidating if you’re not familiar with technical details, but it’s actually straightforward. Here’s how you can verify it on different devices and platforms:
- Checking on Windows Computers
On a Windows PC, start by locating the photo file in your folder. Right-click on the file and select Properties from the dropdown menu. Then navigate to the Details tab, where you’ll see a section called Dimensions. This will show you the width and height in pixels, which should fall between 600 x 600 and 1200 x 1200 pixels. This method ensures you’re checking the true pixel dimensions rather than just the printed size. - Checking on Mac Computers
For Mac users, the process is slightly different but equally simple. Right-click on your photo file and select Get Info. A window will appear with detailed information about the image, including its Dimensions in pixels. If the dimensions fall within the 600–1200 pixel range for both width and height, your photo meets the resolution requirement. This is a quick way to verify the file before uploading. - Checking on Smartphones and Tablets
On mobile devices, you can usually check resolution directly through the gallery or photos app. Open the photo and look for an Info or Details option—this will display the dimensions in pixels. If your device doesn’t provide detailed information, you can use a free photo editor app to view the resolution. Apps like Snapseed, Adobe Photoshop Express, or Pixlr allow you to check and even adjust pixel dimensions if needed. - Why It Matters
Confirming resolution before uploading is not just a technical step—it prevents potential rejections and ensures your passport application process goes smoothly. Even if the photo looks clear on your screen, low resolution may fail automated verification systems. Double-checking guarantees that your image retains sharpness, facial details, and proper proportion, which are critical for both digital and printed passport copies. - Pro Tip for Accuracy
Always check resolution before any cropping or resizing. Cropping a photo after checking may reduce the pixel dimensions below the minimum required. Keeping the original photo intact until you verify the resolution helps avoid unnecessary mistakes and ensures the final image meets U.S. passport standards.
How to Adjust Resolution Without Losing Quality
Resizing your digital passport photo can seem intimidating, but it doesn’t have to be complicated. The key is to maintain clarity and detail while adjusting the pixel dimensions to meet the 600–1200 pixel requirement. Using any standard photo editor—whether it’s a free program like GIMP or a mobile app—you can make precise adjustments without compromising image quality. The first step is always to work on a copy of your original image to ensure that you have a backup in case anything goes wrong.
Start by opening your photo in the editor and locating the resize or image size function. This feature allows you to manually enter the width and height in pixels. It’s crucial to enter the same value for both dimensions, as U.S. passport photos must be square. Many editors default to maintaining the original aspect ratio, so make sure that this option is unchecked to allow for a perfect square crop. This prevents accidental distortion of your facial features, which could lead to rejection.
After entering the proper pixel dimensions, pay attention to resolution settings. Most editors will allow you to select a DPI (dots per inch) value—set it to 300 DPI to ensure your photo remains crisp and suitable for printing. Once the dimensions and resolution are set, export the file as a JPEG with moderate compression. Aim for 80–90% quality to strike a balance between file size and clarity, ensuring the photo stays within the 54–240 KB limit.
Finally, double-check your resized image before submitting it. Zoom in to confirm that facial features remain sharp, colors are accurate, and no unwanted artifacts appear from compression. This step is essential because even a technically correct pixel dimension can fail if the image appears blurry or distorted. By carefully resizing and reviewing your photo, you ensure that it meets all U.S. passport specifications, both digitally and in print, giving you confidence that your application will proceed smoothly.