How to Add a Signature in Gmail? A Step-by-step Guide to Set up a Gmail Signature
An email signature is a block of text that is usually located at the bottom of an email. It includes the company’s brand identity and professional contact details. These email signatures help you establish a brand image and open new doors for marketing opportunities.
Thus, if you also want to improve your brand identity with email signatures, go through this step-by-step guide and learn how to add signature in Gmail and add it to Gmail replies.
In this guide, we will discuss how to create an email signature that leaves a lasting impression on the prospects. So, without further ado, let’s dive in!
Short Answer:
How to add a signature in Gmail:
- Open Gmail and click on the gear icon >> See all settings.
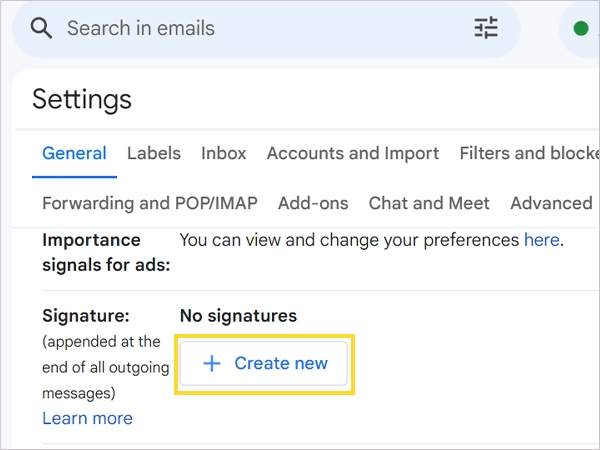
- Scroll down to locate the Signature menu.
- Click on Create New, enter the name, and click Create.
- Use the Gmail Signature editor to create the signature.
- Set the signature defaults.
- Click on Save Changes.
How to Create Email Signature in Gmail?
Gmail’s native features allow you to customize the signature with various options. You can freely add images, logos, and links to enhance your signature.
So, let’s jump in and get to know how to add a signature to Gmail:
Step 1: Open Gmail and Head to Gmail Signature Settings
- Open Gmail and log in.
- Click on the settings gear located at the top-right of the page.
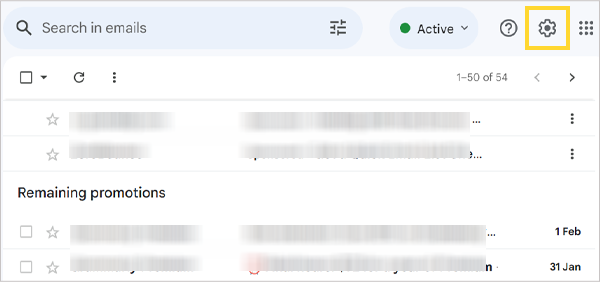
- Now, click on See All Settings.

- On the General tab, scroll down and locate the Signature menu.
- Now, click on Create new.
Step 2: Create Signature
- Now, give a name to the signature.
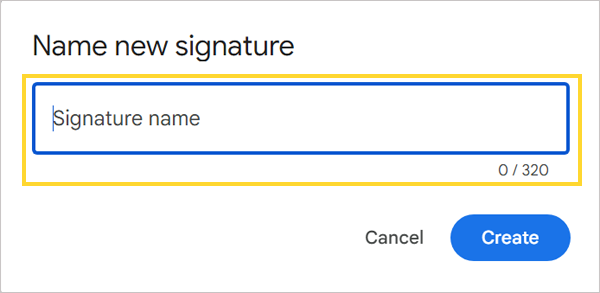
- After you enter the name, click on Create.

Step 3: Add Details to Signature
- Add your contact information and personal details in the box.
- Here is an example for reference.

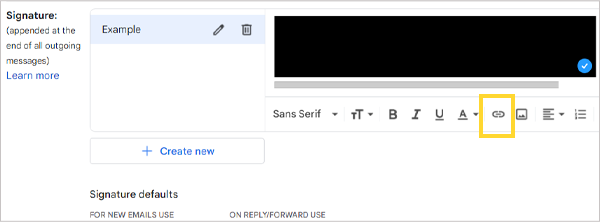
Step 4: Edit the Signature Details
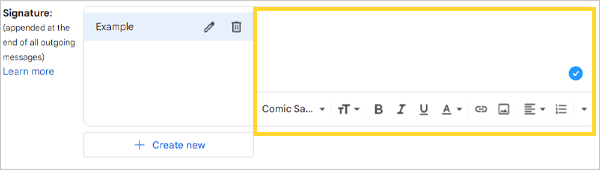
- To edit the signature details, locate the tool strip below the box.
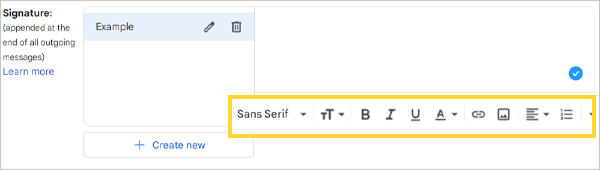
- Here is what these tools mean:
- Select Sans Serif to change fonts.
- Click on tt to change the size of the font.
- Click on B to bold the letters, I to turn the words to italics, and U to underline the words.
- Choosing A allows you to change the color of the fonts.
- Next, you have the option to add links and images.
- The remaining options are to align the texts in a certain way.
Step 5: Add the Image to the signature
- To add images to the Gmail signature, click on the image icon in the tool strip.
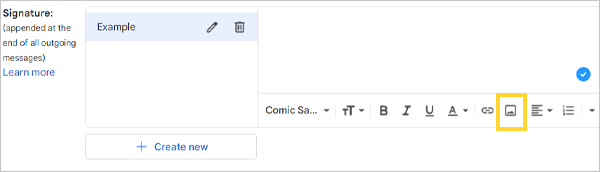
- You will see three options in the new tab: Web Address, My Drive, and Upload.
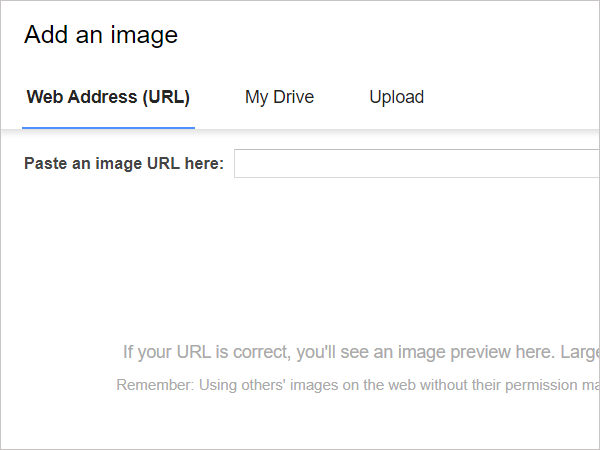
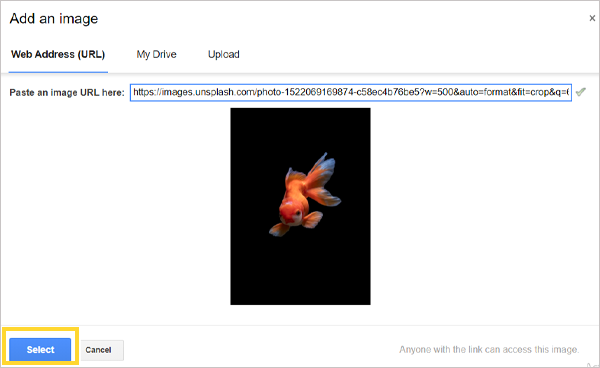
- In the URL method, paste the image link that you have taken from the web. In the My Drive tab, pick an image from your drive. Lastly, you can upload a downloaded picture or logo in the Upload tab.
- After you are done choosing the image, click on Select to add the image to your signature.
- To change the size of the image: Click on the image, and you will see options to adjust the image.
Quick Tip:
- It is highly recommended to use a table while adding an image. It will make you look more professional.
- Gmail doesn’t have a feature to add a table. Hence, you can take the help of Word or Google Docs.
- Another method is to use professional email templates for Gmail signatures.
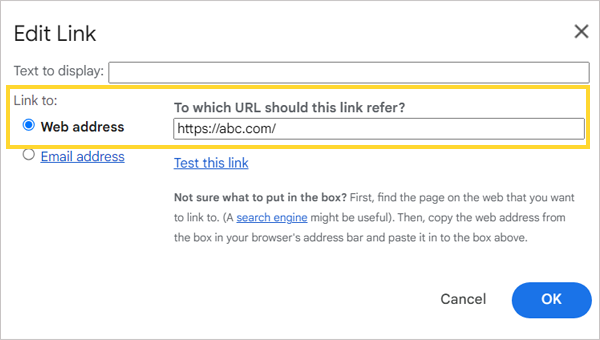
Step 6: Add a Hyperlink to the Gmail Signature
- Click on the link icon to add your website’s link.
- Now, a new tab will appear.
- Enter the link to your website in the web address section.
- In the text to display box, enter your business’s name.
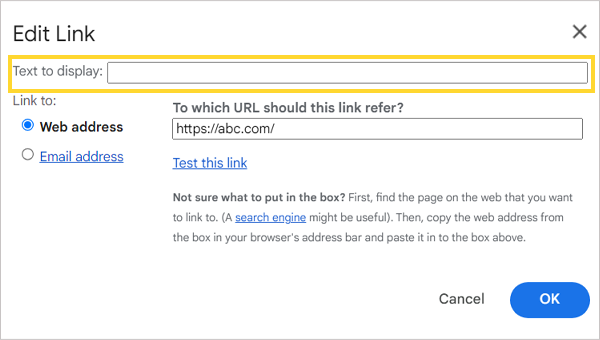
- Now, press OK.
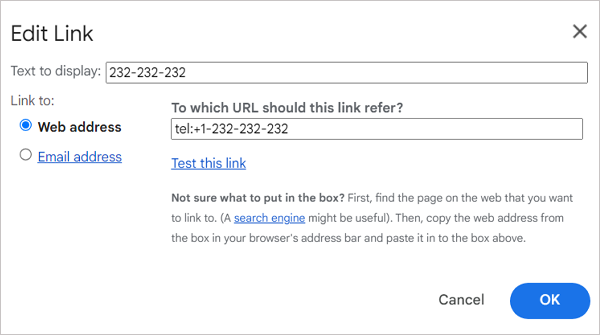
- You can also add the telephone number in the same manner. Simply enter the telephone number in the Web address box. Here is an example.
Step 7: Set Auto Gmail Signature
- In the signature editor tab, go to the signature defaults.
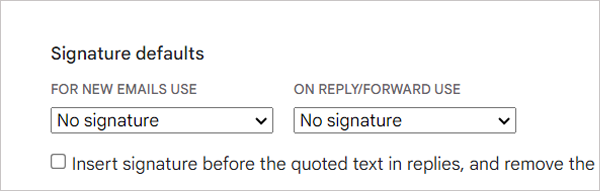
- On the ‘For new emails use’ section, click on No signature, and select the signature you just created.
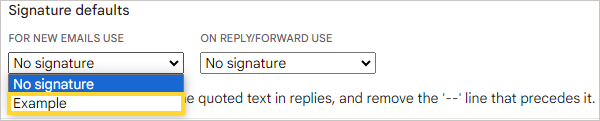
- Now, repeat the same for the ‘On-reply/forward use’.
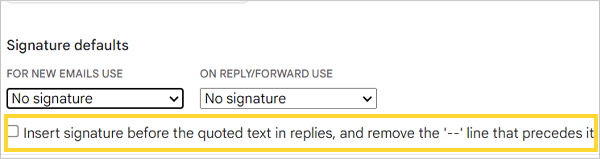
- To insert the signature in the Gmail reply, click on the checkbox located at the end of the signature defaults menu.
Step 8: Click on Save Changes
- This is the most crucial step in creating a signature, i.e., to click on save changes. To do that, scroll down to the end of the page and select the Save Changes box.
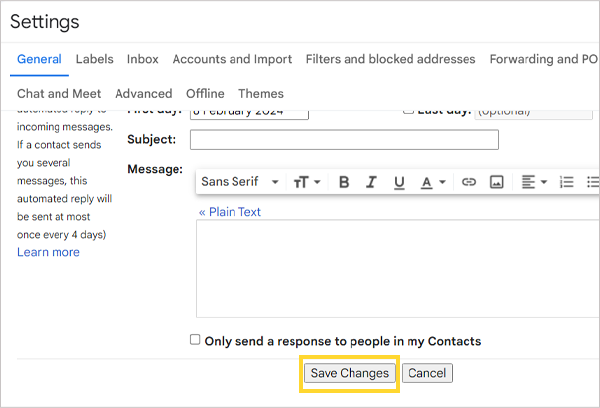
- Now, you have successfully created the signature in Gmail.
Note:
Here are some additional features you can add to your Gmail signature:
- Online Payment Button
- Hand Signature Off
- Sales Event Link
- Email Disclaimer
- Green Footer
- Custom Button
- Banner
- Scheduler
Also Read: 4 Easy Methods to Back up Your Gmail Account
How to Add an Email Signature in the Gmail App?
Most users prefer to use the Gmail app solely for work. Hence, it’s important to learn how to create a signature in Gmail. Thus, follow the steps mentioned below:
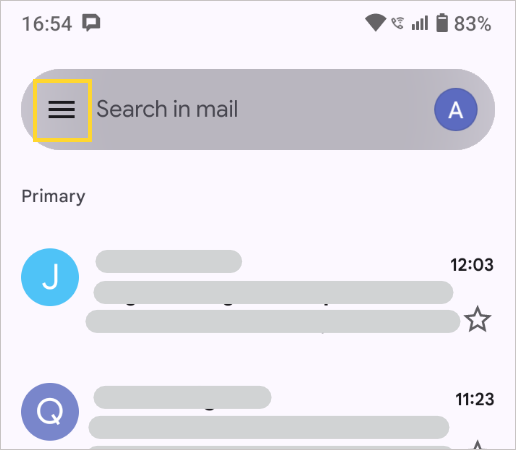
- Open the Gmail app on your device.
- Click on the three horizontal lines at the top of the page.
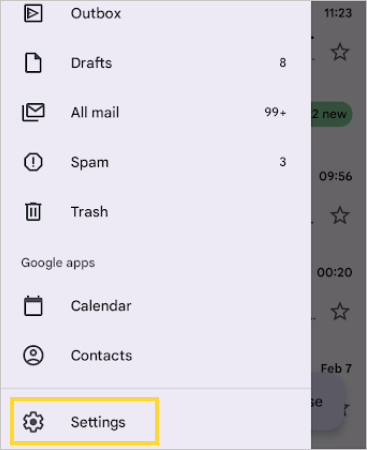
- Next, scroll down and select Settings.
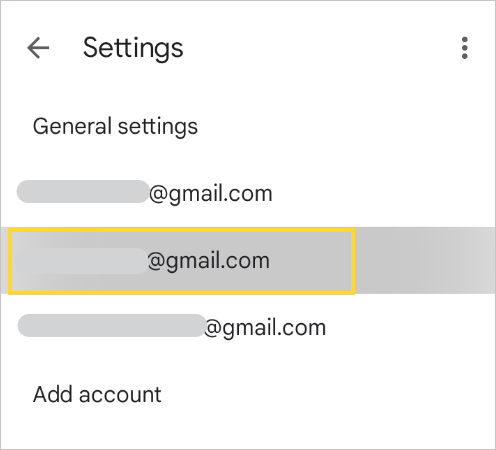
- Next, select an account where you want to add the signature.
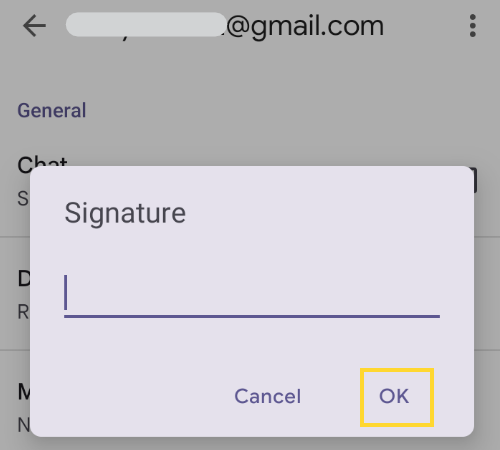
- After selecting the account, scroll down and navigate to general settings. Now, tap on mobile signature.
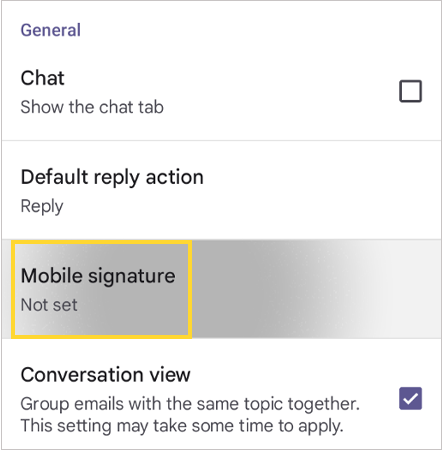
- Next, give a name to the signature and press OK.
- You have successfully created a signature in the Gmail app.
Note for iOS Users: The steps to create a signature in Gmail are identical on an iPhone.
Why Do You Need an Email Signature in Gmail?
An email signature contains the company’s professional contact details and allows the recipients to recognize the brand easily. These email signatures often have images, logos, and hyperlinks linked to them. These signs are known as the gateways to the dealings of the company. In brief, a Gmail email signature shows the recipients who you are and how the prospects can contact you.
Moving on, let’s discuss the benefits of adding a signature to Gmail:
- Act as a Visiting Card: As discussed, the email signature Gmail gives information on who you are and what you offer. It also contains professional contact details. Thus, in a sense, it acts as a visiting card for the recipients.
- Raises Your Visibility: An email signature containing your professional details (website information or other details) helps to raise your visibility. It makes you easily recognizable. The recipients can easily track your email with the specified email signature.
- Proves Credibility to the Customers: With the rising concern for authenticity in emails, being marked as spam is becoming quite common. This issue often impacts your website’s or brand’s identity. Hence, a distinguished email signature will help you appear as a credible source.
- Helps to Achieve Business Goals: Adding a clickable call-to-action link may further help you attract more leads. Examples of these CTAs include links to download an app or purchase a product. This, in turn, will help you achieve the various goals.
- Generate More Traffic: Email is becoming the most popular communication channel these days, and leveraging it only makes sense. Hence, you can use the signature to generate traffic. Tempt the recipients with an actionable link and spread awareness about your business.
Moving on, let’s look at how to add signature in Gmail in the following section.
Also, check out: How to Change Gmail Background? [Step by Step Guide]
Conclusion
See how easy it was to add a signature to your Gmail account. So, create an email signature today, and take on a personalized brand identity. Go through the steps mentioned above and enhance your brand awareness.
One thing we would like to remind you is that this guide is for Gmail users and not for Google Workspace (G-Suite) users.
Read next: What Does Queued Mean in Gmail and How to Fix It?
FAQs
Ans: To add a signature to your Gmail account:
- Open Gmail and head to Settings >> See all settings.
- Now, on the general tab, scroll down to the Signature menu.
- Click on Create New, enter the name, and press OK.
- Next, add the contact details and personal information in the box.
- You can also choose to edit it using the tool strip.
- Choose the signature you created in the signature defaults menu.
- Lastly, click on the checkbox at the end of the Signature settings to add the signature to the Gmail replies.
- Click on Save Changes.
Ans: The reason your signature is not showing is because of the possibility of errors in the signature defaults. Head to the signature defaults and choose your signature from the menu. Remember to click on the checkbox located at the end of the signature menu. Then, click on Save Changes at the end of the page.
Ans: To add a signature to the Gmail mobile app:
- Open the Gmail app.
- Click on the three horizontal lines.
- Then select Settings.
- Now select the Gmail account where you want to create a signature.
- Now, navigate to the General Settings and click on Mobile Signature.
- Give a name to the signature and press ok.
Source Links: