How to Create a Distribution List in Gmail? Ways to Manage Mass Emailing Effectively
Despite using Gmail for a long time, we bet you would not know about how to create a distribution list in Gmail?
A distribution list allows you to send out emails to a group of users with a single email address. Creating a distribution list is different from creating a group email and it saves you significant time and effort, whether you are using it for personal or professional use. Thus, creating a distribution list can prove to be a lifesaver.
Hence, this article will explore how to create an email distribution list in Gmail. Also, we will talk about effective practices and common issues while managing a distribution list. So, let’s dive straight in!
What is a Gmail Distribution List?
A distribution list is a single email address that includes multiple recipients. You can use this list to distribute the message to all the recipients in a single email. Whether you are a Google Workspace admin or a normal user, you can create a distribution list in Gmail easily.
When you send a message to this collective address, it automatically reaches all the members of the list. Therefore, if you are frequently required to message the same group of people, you can create a distribution list Gmail and make your work easier. It will eliminate the need for manually typing in all the recipient’s names in the ‘To’ field.
Note: The concept of a distribution list is originally taken from Microsoft Outlook, the renowned email client.
How to Make a Distribution List in Gmail?
Gmail doesn’t offer any specific feature to create a distribution list, but it does allow you to create contact groups on Google that work similarly. Follow the steps below to create contact groups:
- Log in to your Google account.
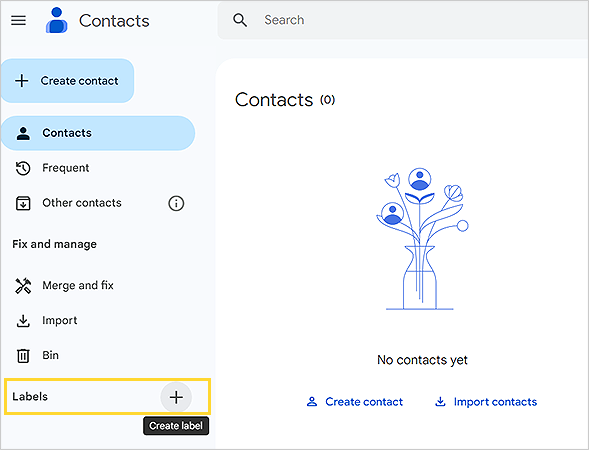
- Select the app launcher and click on the Contacts icon. Or you can enter Google Contacts in the search bar and press enter.
- Click on the Create Label (+), beside the ‘labels’ menu.
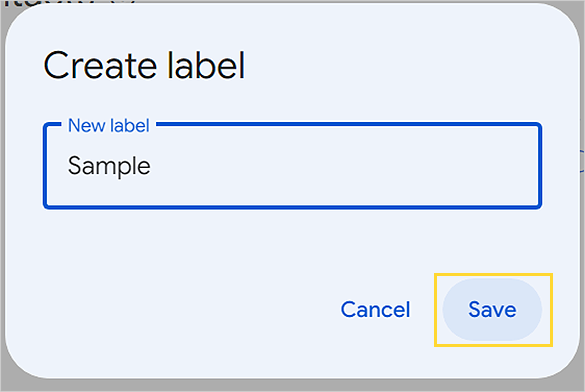
- Enter the name you wish to give the label and click on save.
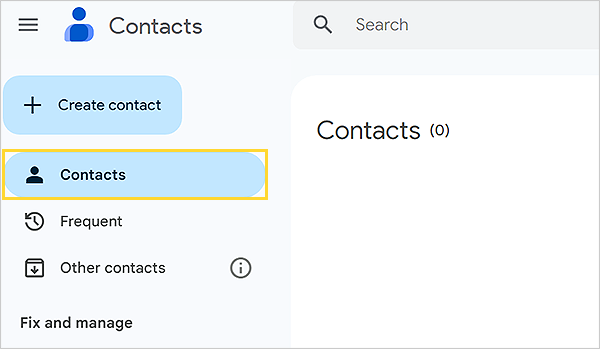
- Now, select contacts from the menu on the left side.
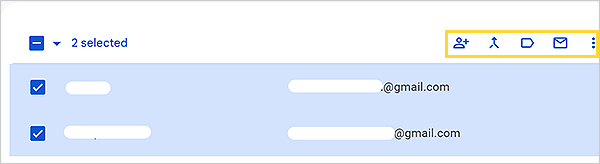
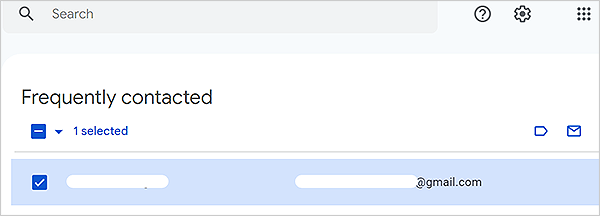
- Select the checkbox for the contacts you wish to add to the group.
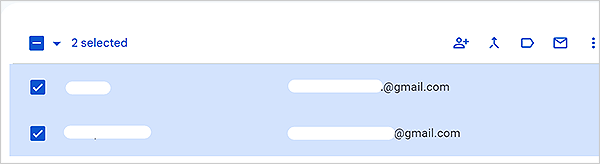
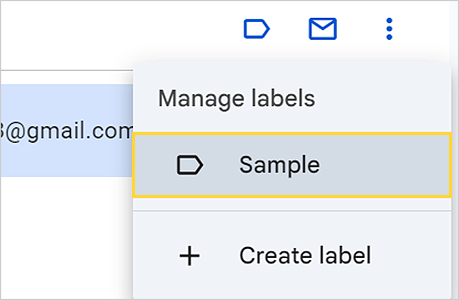
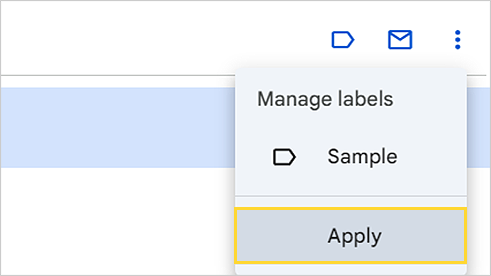
- Now, click on the manage labels icon from the menu.
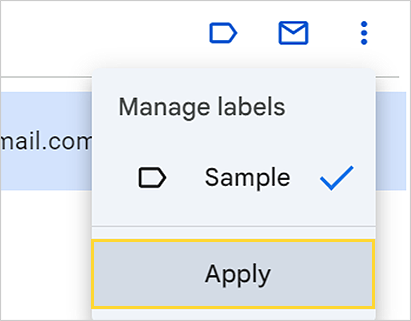
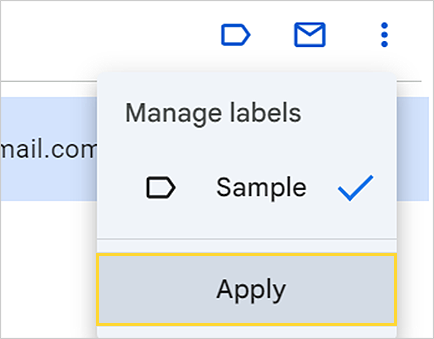
- Now, from the menu, select the label that you created and click on Apply.
Now, your distribution list is all set. You can now use this label to send emails to multiple addresses simultaneously.
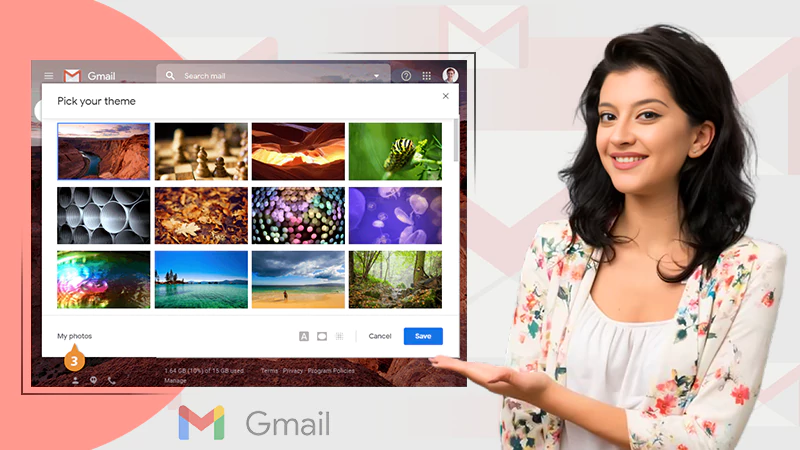
Also read: How to Change Gmail Background? [Step by Step Guide]
What is the Need for a Distribution List?
Being in the corporate world, you are often required to send bulk emails to update the team members. To avoid the repetitive task, you can make a distribution list of the team members and send the emails to that specific email address.
You can also create a distribution list to send out personal emails, be it a family invitation or a school project.
Moreover, it can prove beneficial for marketing campaigns, improving the ROI. Using this list, you can offer tailored subscription offers or newsletters that pique your subscriber’s interest.
Now that you know the need for creating a distribution list, let’s check how to properly use and edit a distribution list.
How to Use and Edit the Distribution List in Gmail?
After creating the distribution list in Gmail, the next step is to put it to use. You can use this list to send messages to multiple recipients at the same time, saving a lot of trouble. Here’s how you can do that:
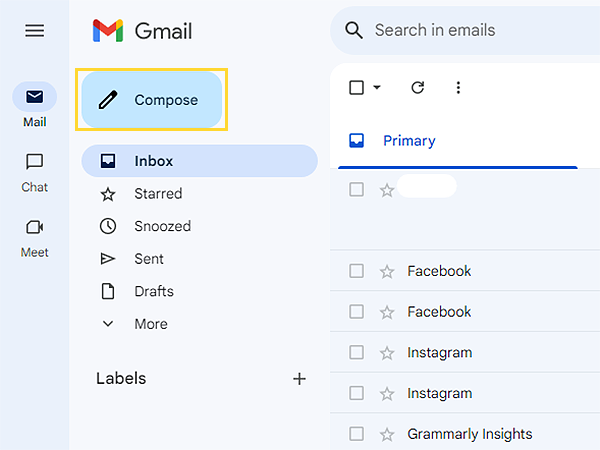
- Head to your Gmail account and log in.
- Click on Compose.
- In the ‘To’ field, enter the label name you created in the Contacts group.
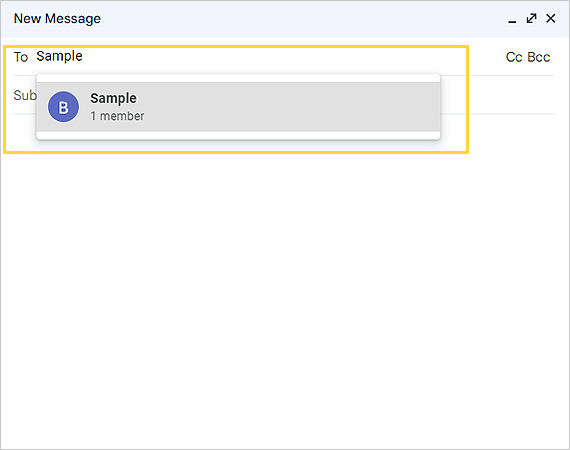
- Write your message and hit send.
After creating a distribution list, the next step is to effectively manage it, i.e., remove or add the members according to the mailing requirements. You can follow the steps below to add or remove a recipient.
To add a member:
- Head to the Google Contacts.
- Select the contact you wish to add.

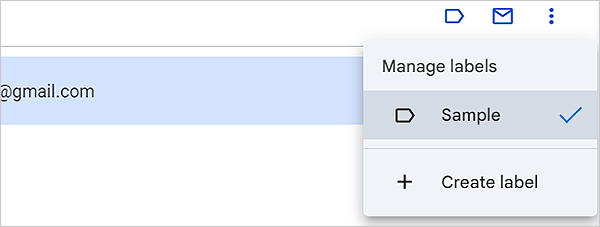
- Click on Manage Labels and select the label to which you wish to add that recipient.
- Click on apply, and you are done.
To remove a member:
- Open Google contacts.
- Select the label you want to edit.
- Choose the contact you want to remove.
- Click on Manage Labels and select the label.
- Remove the desired contacts.
- Then, click apply.
Moving on, let’s look at the common errors people face while creating a distribution list and how to address them.
Troubleshooting the Delivery Issues in the Gmail Distribution List
There is a high possibility of encountering some issues while managing the distribution lists. Hence, we identified the common issues and tried to find possible fixes. Let’s explore those common errors and the troubleshooting tips in the next section!
Bounced or Rejected Emails
Sometimes the emails you send to the list get rejected by the recipient’s email server. There could be various reasons for facing this error.
Here are some common reasons for the bounced emails and their possible fixes:
Situation 1:
If there was a typo in the recipient’s email address, your message could end up being rejected. Maybe the recipient changed the web address, or the email address doesn’t exist anymore. That’s why you must double-check the email address and contact the administrator, if necessary.
Situation 2:
If the message exceeds the attachments limit, has a large file size, or is overshared, it might be rejected. Hence, make sure you remove any suspicious links and follow the emailing regulations.
Situation 3:
The reason could be a connectivity or server issue. This problem could be from your end or the receiver’s end. Thus, try to wait and see if the issue gets solved over time. If it doesn’t, it’s time you contact customer support.
If the problem gets solved from your end, it could be the user’s email address that is causing this error. Thus, try to get in touch with the receiver and find the cause.
Emails Didn’t Reach the Recipients or the Distribution List
Failed delivery of emails is often caused by poor network connection. It is also possible that your email address ended up in the spam or junk mail folder by mistake on the part of the recipient.
Additionally, if you are using an Apple email client, then it is expected to take a long time to get the message delivered. Here’s how you can fix it:
Solution:
First, check if you have a stable connection and ensure you are using a credible email client. Check where the problem lies and contact the email service provider, if necessary.
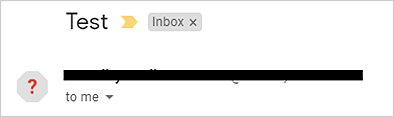
Unauthenticated Message
If the recipient receives the email with a question mark, it indicates that the source of the message is unauthenticated. An unverified source of the message increases the chance of being rejected by Gmail. It happens because of a specific feature of Gmail that automatically blocks any messages that pose threats to the users.
Solution:
The most common troubleshooting method for this error is to check if the email you sent is authenticated. Here’s how you can do it:
- Open Gmail and log in.
- Open the email.
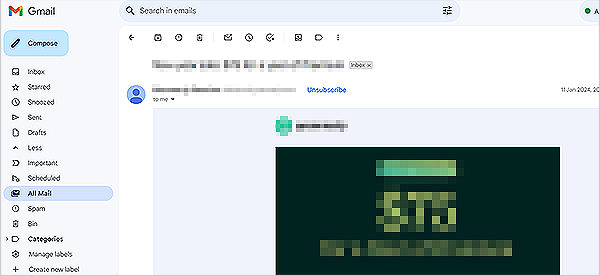
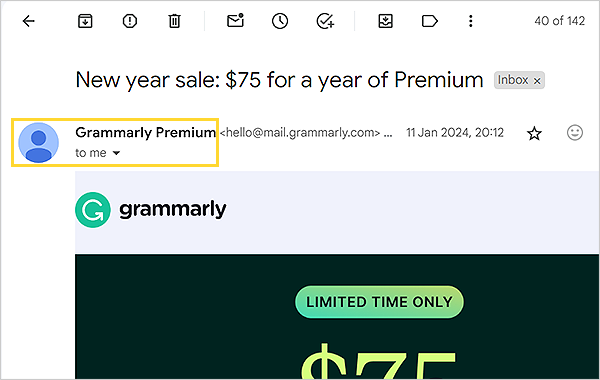
- Now, click on the arrow below the sender’s name.
- Now, a new menu will appear on the screen.
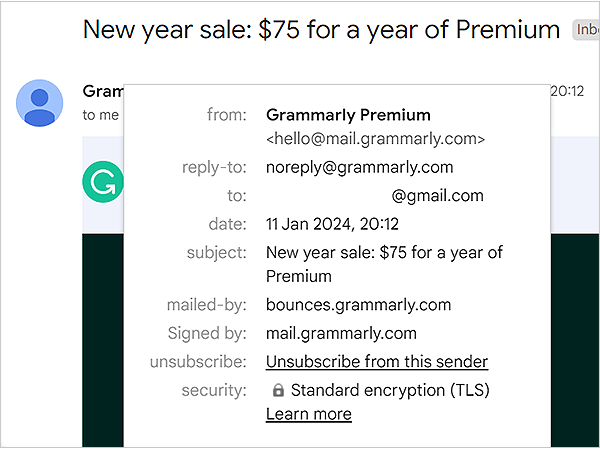
- Now, you need to check the Mailed-by and signed-by option.

- When you see a domain name, like grammarly.com, in the above image in both options, it means the email is authenticated.
- However, if you see a question mark next to the sender’s name, it means it is from an unverified source.
You should be set to go if you attempt to send an authenticated email to the list.
If you wish to authenticate your message, you can use authentication methods like DKIM (Domain Keys Identified Mail) or SPF (Sender Policy Framework). There is also a unique method: RSA keys that allow you to create a policy to control unauthenticated messages and other authentication information.
Note: DKIM is an authentication method that adds a digital signature to outgoing messages.
SPF helps protect your email against spam and spoofs. It also prevents your messages from being marked as spam by the recipient’s servers.
These common fixes may assist you in case you face any problems while managing a distribution list.
Effective Practices to Manage a Distribution List
The email distribution lists do indeed help you save significant time and effort. However, it is only possible when you use this list in the right manner. Hence, you can consider the following practices to help you efficiently manage the distribution lists:
Follow the Emailing Laws and Regulations
You should comply with the emailing law while writing to your distribution list. These laws include data privacy and data usage regulations. For example, when you are offering a subscription, always remember to ask for the user’s consent. This will prove your transparency and credibility to the recipients.
Always Check your List Before Sending a Message
After you are done composing an email, make sure to double-check the list. It will prevent the email from reaching any unintended recipients.
Clean the Distribution List Regularly
Ensure cleaning the distribution list regularly. Remove the members who are no longer a part of the group or the company. You can also add new users according to your needs. It will help you manage an active distribution list.
Maintain the Transparency of the Message
Mistakes in spelling and typos in the recipient’s name can affect your message’s credibility and mark it as spam. Moreover, send all the messages at once, as forwarding them over and over results in the email being marked as spam.
Avoid Using Attachments, If Unnecessary!
Attachments often have a high risk of coming into contact with viruses. These attachments also increase the size of your message, which might exceed the limit of sending emails. Hence, make sure to use fixed links and password-protected files.
Adjust Your Message According to the Audience
Ensure to double-check the content of the message. Use a common way to address the different segments of the audience. Moreover, make sure the message is easily comprehensible for all.
Allow Fast Approval of the Removal Requests
As per the laws and regulations, offering an opt-out option is a must. In addition to that, you must take immediate action on the removal requests from the recipients. Doing this allows you to build trust with the recipients.
Use Email Marketing Software
Having a large audience on the distribution list is hard to manage. Hence, you can try the email marketing software. The software programs will help scale your business and make your life a lot easier.
Conclusion
Now, you can easily use distribution lists as a form of email segmentation and send tailored messages to the selected group of contacts. Remember to adopt the best emailing practices and track the performance of email data to ensure efficient email management.
We would like to remind you that this distribution list is completely different from the list in Google Groups. Thus, make your choices wisely.
If you face any problems while creating a distribution list, visit the Gmail help page.
Also read: 4 Easy Methods to Back up Your Gmail Account
FAQs
Ans: A shared inbox can be accessed by multiple users at the same time, while the distribution list contains the list of all the email addresses that can be used to send the same message to multiple people.
Ans: You can create distribution list in Gmail using Google Contacts. Head to Google Contacts and create a label. Then, select the contacts you wish to add. Now, click on the manage label to add the selected contacts to the created label.
Ans: Head to contacts and select the label. Now, select the member you wish to remove. Now, click on manage labels and select the label. Remove the member and select Apply.
Source Links: