Here’s How To Create An Email Group In Outlook
Creating a group in Outlook comes in really handy if you operate a business or need to send the same mail to several contacts using a distribution list for improved accesssibility.
Setting up email groups on your Gmail and Outlook can speed up communication while saving on resources.
In case you have never heard of Outlook email groups, you are missing out on a major feature until now. Go through the steps and learn how to create an email group in Outlook Web 365, 2013, 2019, and 2016, so read on!
How to Create an Email Group in Outlook?
Outlook has multiple versions, hence, the method for how to create a group email in Outlook will vary depending on the version similarly you can create a distribution list. Let’s start with how you can create an Outlook email group in web versions 2019 and 2016.
Create a Group Email in Outlook 2016 and 2019
Outlook 2019 is the improved version of Outlook 2016. With the updated ones, the 2019 version has all the features that Outlook 2016 has. There’s only a bit of difference in the navigation, the rest steps regarding the Outlook create email group are the same.
Follow the steps below to get a hold of how to create an email group in Outlook in 2019 and 2016.
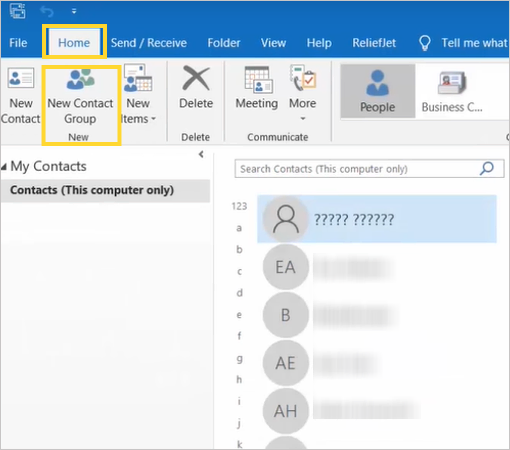
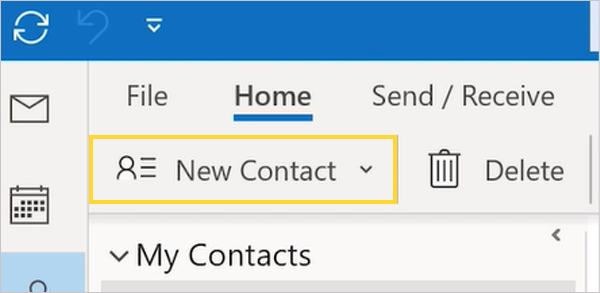
- Launch Outlook Office and select the Contacts icon. You can locate it in the bottom left of the navigation panel.
- Click the Home tab and select the New Contact Group.
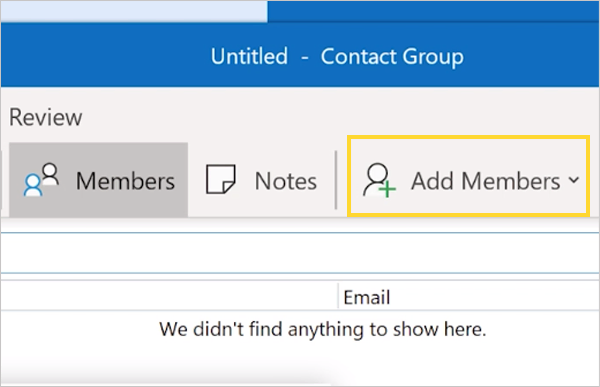
- Click ‘Add Members’ to add contacts to the email group. You can use any available method to do so.
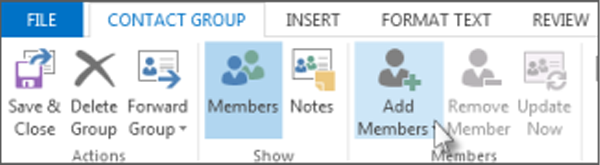
- If you want to add contacts in bulk, long-press the Ctrl key and keep selecting the contacts.
- Click on Add member to add the contact you have selected as a list member.
- Press OK to resume.

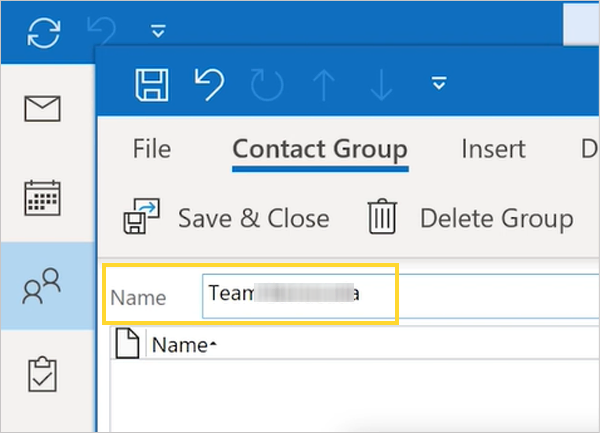
- Now choose a name for the group and press enter.
- Finally, hit the Save button followed by Close.
Create an Email Contact Group in Outlook 2013
Use the following steps as a guide to learn how to create an email group in Outlook Web 2013.
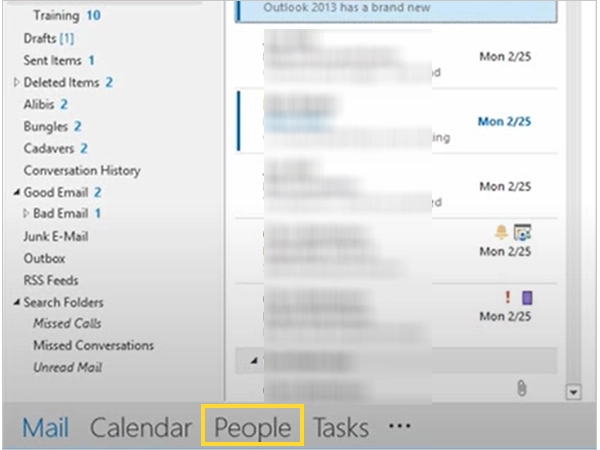
- Launch the interface of Outlook.
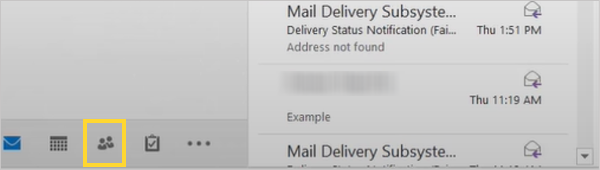
- On the Home page, click the People icon. It can be found alongside the calendar icon at the bottom of the page.
- Create a new group.
- Enter the group name and hit the Save option.
Create an Email Group in Outlook 365
Follow the pointers below to create a group in Outlook 365:
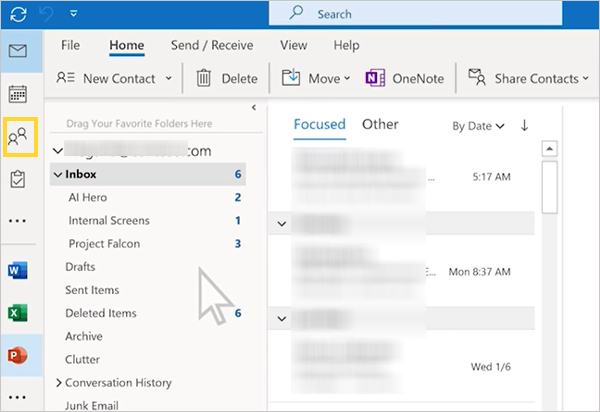
- Click the People icon.
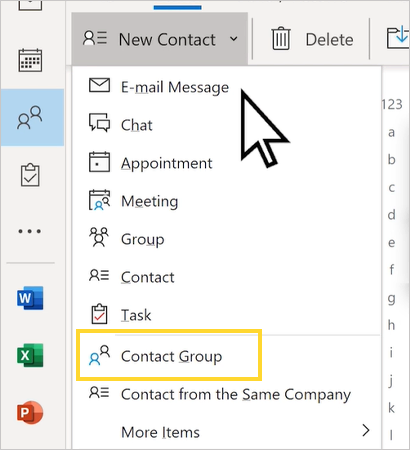
- Select New Contact.
- Click on the Contact Group option.
- Enter a Name for the contact group.
- Click Add Members.
Now the group is operational and will appear in contacts.
Also Read: How to Create a Group Email in Gmail? Easy Steps to Boost Your Email Efficiency
How Do You Create an Email Group in the Outlook Web App?
Email Outlook web app helps manage emails and inboxes at your fingertips. So if you primarily work on emails, the below-provided steps will help you create an email group in Outlook Web.
- Sign in to the Outlook Web app.
- Expand the left panel to view the subsequent option list.
- Click Groups>>New Group
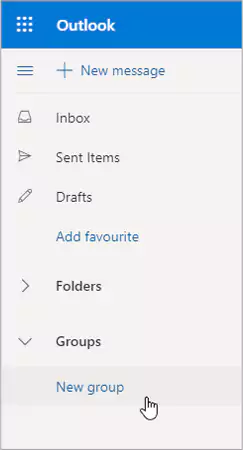
- Type the Group name, add a description, and finally hit the Create option.
How to Create a Group in Outlook Mobile App?
Steps to create a group are simple in the mobile app, keep up with the below instructions for the same:
- Launch the app from the App gallery.
- Then click on the profile icon.
- Now tap Groups.
- Click New Group.
- Name your Group.
- Type a name or email address to Add members.
- Choose a group icon for the Group.
- Lastly, click Create in the top right corner.
How to Send Emails to the Email Group in Outlook?
Now that you have learned how to create an email group in Outlook, it’s finally time to see how you can send bulk emails in those groups.
- Sign in to Outlook.
- Select New Message.
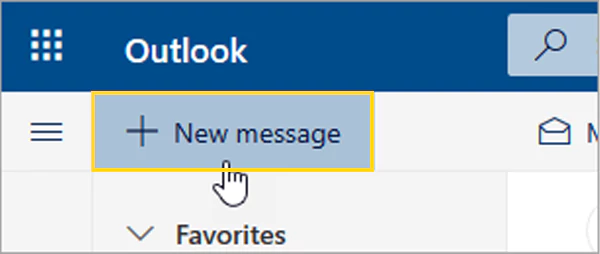
- In the To section, type Group name.
- Add a Subject, and type the message.
- Hit the Send option.
Benefits of Using Email Group in Outlook
There are multiple benefits to using an email Group in Outlook, we are listing the most prominent ones for you to refer to:
- Meeting invitations can be sent to everyone at once.
- It saves time and resources.
- All your teammates can be kept in the loop and notified at the same time.
- Send emails without missing anyone.
- Efficient organization and management of your Outlook Email Contact.
- Scheduling Emails to large groups of people consequently makes workflow management easy.
Conclusion
Now that you are aware of how to create an email group in Outlook, you are all set to mail to multiple recipients in one go. This simple hack is going to change the way you perceive mailing once and for all.
The best part about Outlook groups is that you can always choose to add or remove the email addresses before sending the mail. When you are done typing the mail content, you can right-click the contacts in the group and add or remove the participants from the list.
Suggested read: How to Create a Template in Outlook?
Frequently Asked Questions
Ans: Follow these steps to set up an email group in Outlook.
Login>>Home>>New Group>>New Contact group>>Members group>>Add members>>Outlook contacts>>Add New Email contact.
Ans: To email many people at once, log in to Outlook >>Home>>New Message>>To>>Select Email Group>>Add Subject, type message, and hit Send.
Ans: Right-click on the list and choose to add or remove a contact from the email group.
Sources