How to Create a Group Email in Gmail? Easy Steps to Boost Your Email Efficiency
Gmail services have gained immense fame over the past decade. It is becoming the go-to repository for every emailer. However, despite the large number of users, many of Gmail’s native features are still left unexplored. Creating group emails is one of them.
You can easily create a group in Gmail, simply compose an email, click send, and everyone in the contact list will receive the message. Whether you are a corporate employee or a student, this feature could save you a lot of trouble.
Hence, this post will explore how to create a group email in Gmail and how to send out mass emails in groups, in a few easy steps. So, let’s dive straight in!
Also read: 4 Easy Methods to Back up Your Gmail Account
How to Create an Email Group in Gmail Using Google Contacts?
A Gmail group or an email group is a contact list. When you use this list to send an email, it automatically reaches every contact on the list. You can easily send mass emails with this, rather than manually composing emails and sending them out.
Follow the steps below to learn how to create a group in Gmail:
Method 1: Using the Create Label option
The first method to create an email group is to use the Create Label option from Google Contacts. Here’s how to use it:
- Open Google Contacts.
- Click on the + sign beside the Labels option.
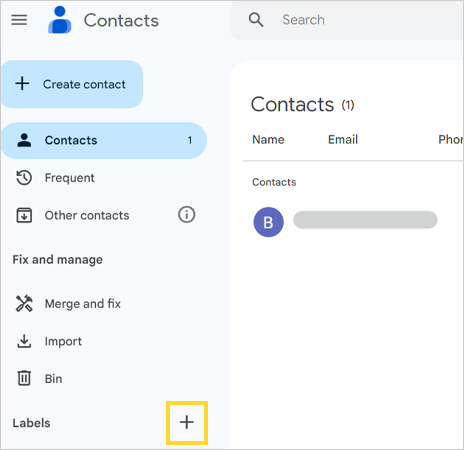
- Now, name the label and press save.

- Click on ‘Frequents’ to find the people you usually keep in contact with.
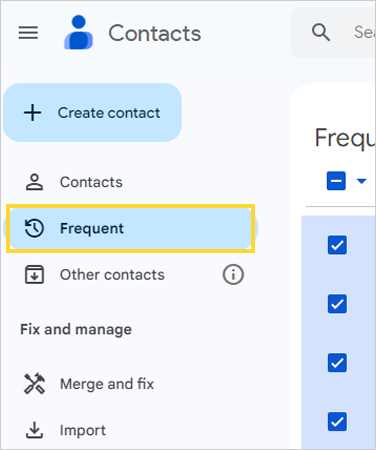
- Click on their profile picture to select the people you want to add.
- If you are unable to find them in the frequent contacts, you can enter their name or email address in the search bar.
- Next, click on the Label icon highlighted in the image below.
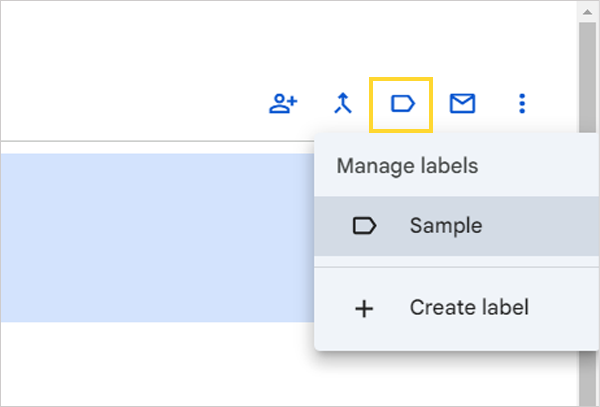
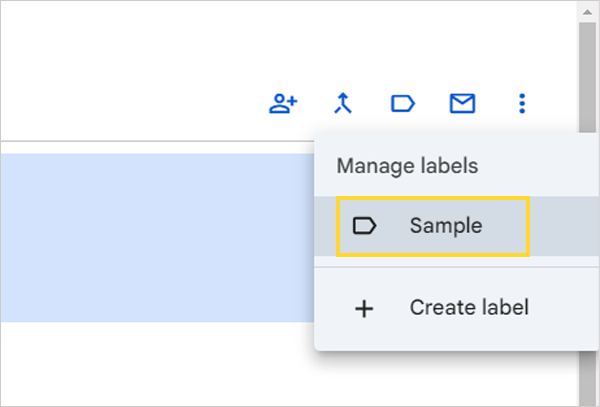
- Now, click on the label you wish to add the contacts to.
- Then, click on Apply.
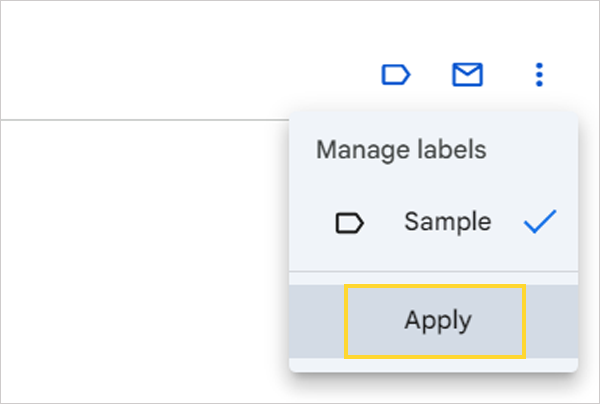
- Now, you have successfully made an email group.
Method 2: Using the Create Multiple Contacts Option
Another method you can use to create an email group is to use the option to create multiple contacts. The steps below will assist you with it:
- Log in to Google Contacts.
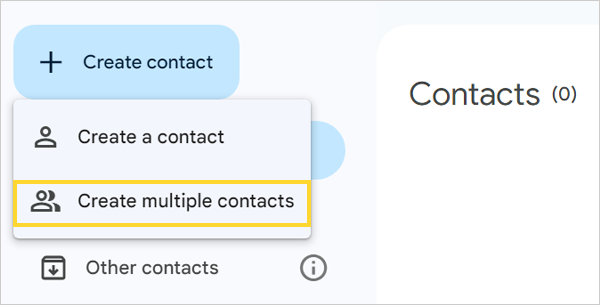
- Click on Create Contacts on the left side of the menu.
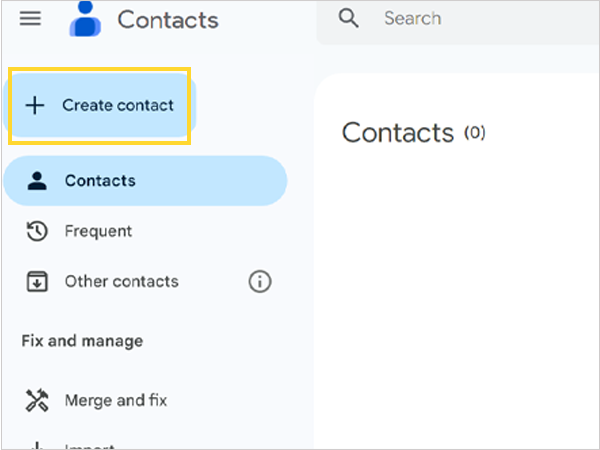
- Next, you will get two options: Create a Contact and Create Multiple Contacts.
- Select Create Multiple Contacts.
- Then click on No label.
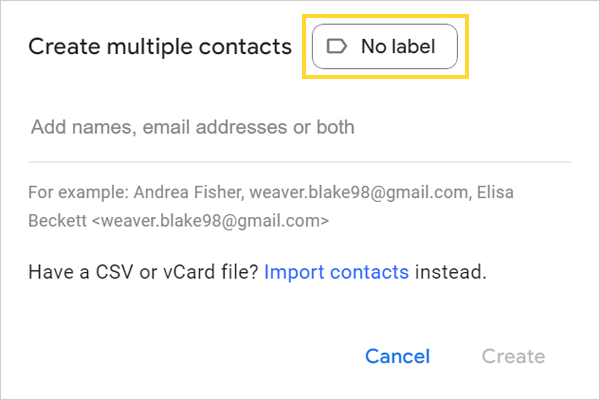
- Now, enter a name you want to give to the group.
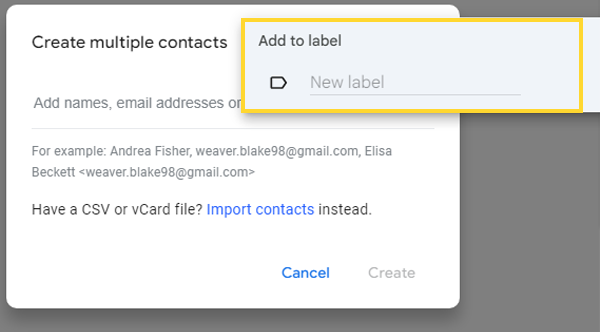
- Then, add the names or email addresses of the people you wish to add.
- Here’s how you can add the names:
- To add contacts manually: Add the names and add a comma after that, or you can press enter after you add each name.
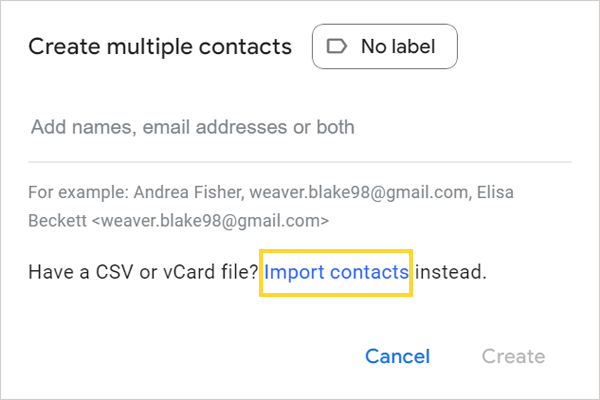
- To add contacts in bulk: Save the contacts as a CSV or vCard file, then click the import contacts button located below the box where you enter names.
- When you are done, click on the Create button to create the group.
Note:
If you only wish to add a contact to the email group, click on the Create a Contact button and add the name of the participant. Then click on the manage labels and add the member to the already-made group.
How to Create Group Email in Gmail Mobile App (Android and iPhone)?
These days, most people are using the Gmail mobile app as their go-to email service. Hence, creating a group email on the Gmail app is becoming crucial. Here’s how to create groups in Gmail on the app:
- Open your Gmail app.
- On the top left side, there will be three horizontal lines; click on that.
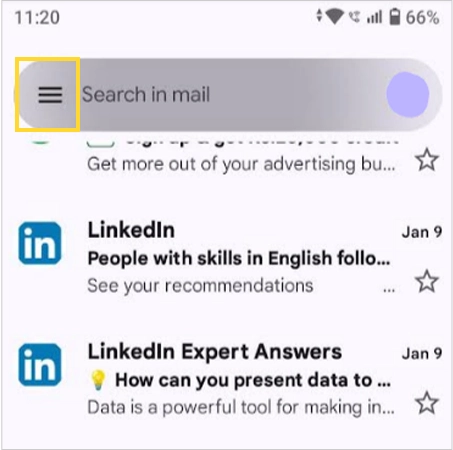
- From the menu, select Contacts.

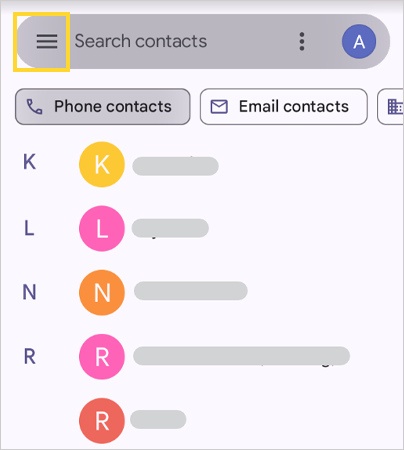
- It will redirect you to the ‘contacts app’; if you don’t have the app, you can install it from the Google Play Store.
- Now, click on three horizontal lines.
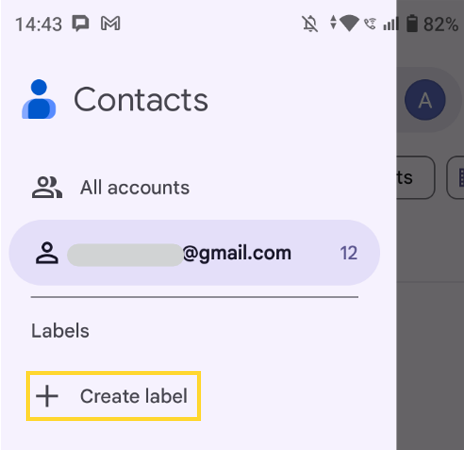
- Next, tap Create Label.
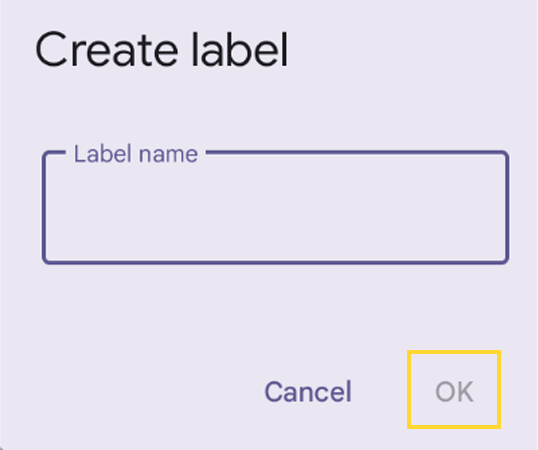
- Name the label and press OK.
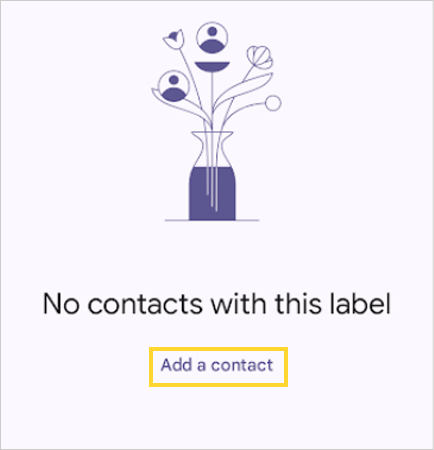
- Now, click on Add a Contact on the page.
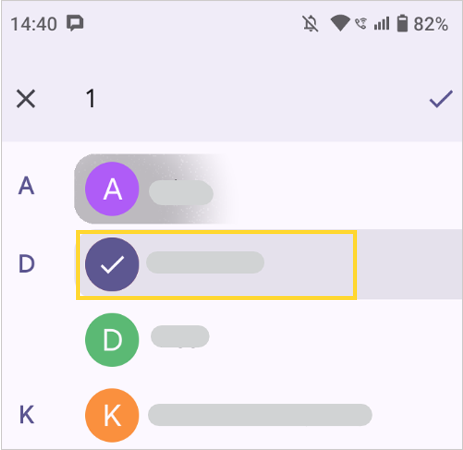
- Press and hold the contacts to select the contact you wish to add to the group.
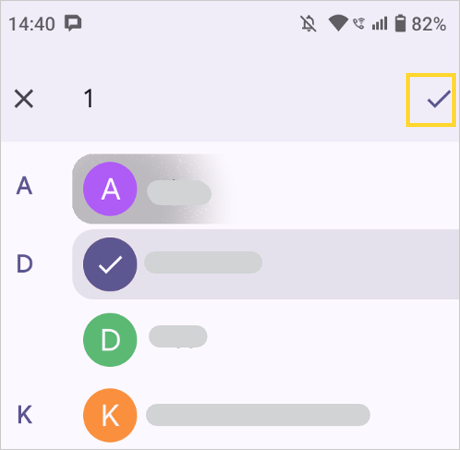
- Now, press the ok icon in the top-right corner.
Creating an email group on the Gmail app will prove beneficial for people who like to leverage emailing from the get-go.
How to Create a Group Email Account Using Google Groups?
Google has a unique feature named ‘Groups’, where you can easily make a group, team, project, or club. Here, you can freely exchange content and thoughts.
You can use these groups as the collaborative (shared) inbox, where every team member can comment or participate.
Now, let’s get to know how to create a group email account:
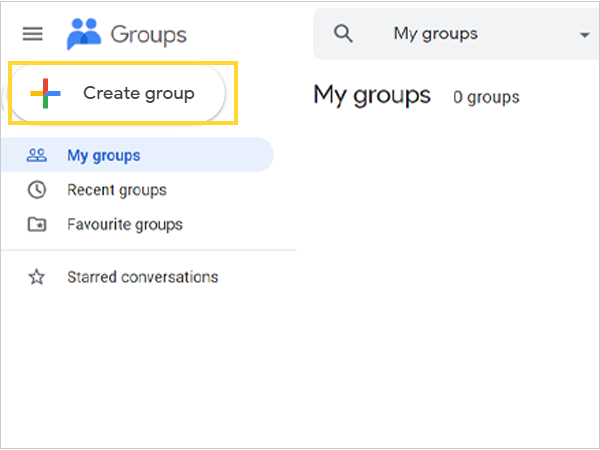
- Open Google Groups.
- Click on the Create Group button on the left side of the page.
- Now, type in the name of the group in the Group Name section.
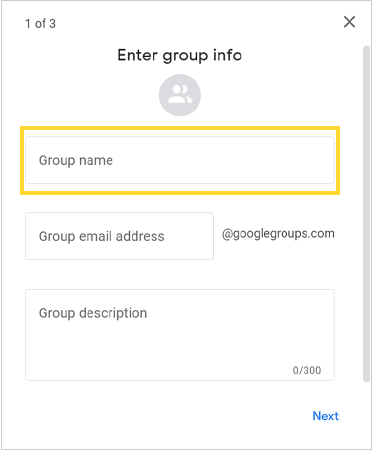
- Fill in the email address you want to use, which will end with @googlegroups.com.

- Enter the group description.

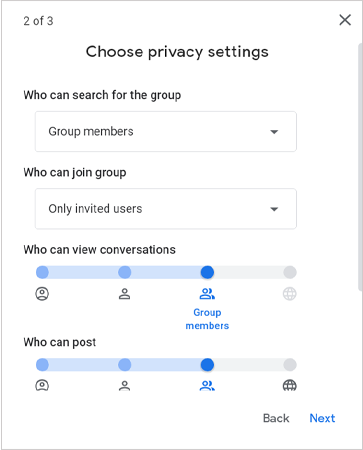
- Choose the privacy settings and allow permissions as you want.
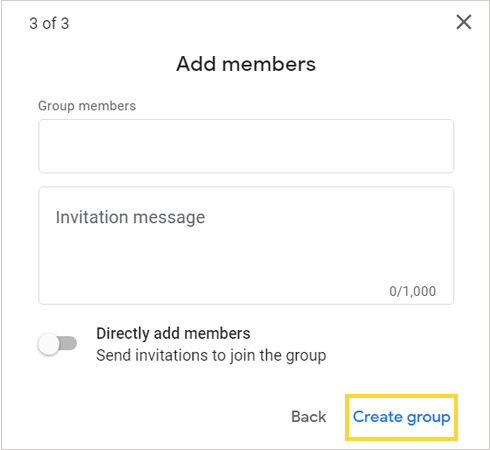
- Next, you have to add members. Write each member’s name following with a comma, or use their email address to add them.
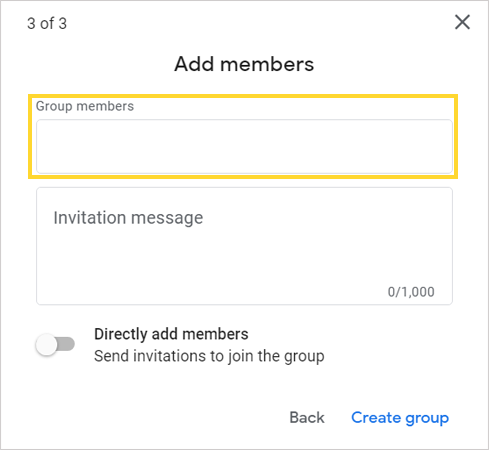
- Write the invitation messages with a common way of addressing members.
- Click on ‘Create Group’ and then press ‘OK’.
Note:
An email group and a Google Group are two different entities. An email group is made up of a contact list, while a Google group is a shared inbox. So, make sure you don’t confuse these terms.
How to Send a Group Email in Gmail?
After you create an email group in Gmail, you can easily send group emails and save significant time at work. You will be able to streamline communication and foster an environment that promotes productivity.
Follow the steps below to create a group in Gmail:
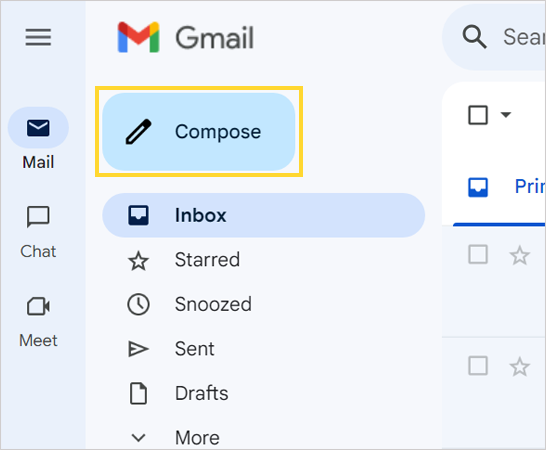
- Open Gmail and click on Compose.
- In the ‘To’ field, write your group name. If you want to send it to multiple groups, then add them one by one.
- Write your message in the email and press the send button. Your message will reach every member of the group.
That is how easy it is to send a bulk email without having to put in a lot of work. Now, let us look at how to send emails without showing the recipient’s name.
How to send Group Emails without showing the recipient’s name?
When you send emails to the group, often the personal data of members gets disclosed. Although this could be the personal choice of members, what you must do is adopt safety measures.
Here’s how you can ensure everyone’s privacy and avoid future discourse:
- Click on Compose.
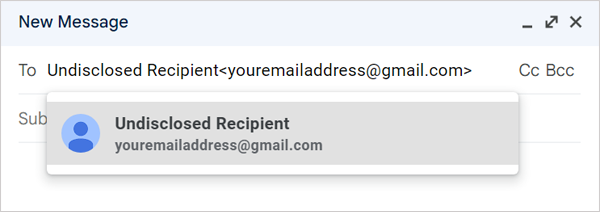
- In the ‘To’ field, write ‘Undisclosed Recipients<your email address@gmail.com>’
- Next, click on BCC on the left side.
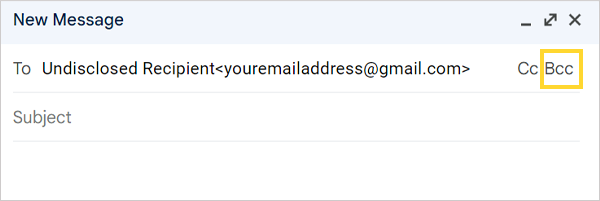
- Then, enter the group name in the BCC section.
- Make sure to use a common address in the subject section that doesn’t disclose the identity of the receivers.
- Write your message and hit send.
What is BCC?
Bcc is the abbreviation for ‘Blind carbon copy’. When you send an email using this feature, the recipient becomes unable to see the other email addresses in the contact list.
In simple words, BCC hides the email addresses from everyone except the sender.
Benefits of Creating Group Emails
Creating group emails is an effective practice that helps address mass email issues. This conventional method can be your lifesaver and offer you various benefits.
- Sends Emails to a Large Audience All at Once: This is the ultimate goal of creating the Google email group. You can easily convey your message to a large audience, be it your family, friends, or colleagues. It will also come in handy for sending out newsletters to a segment of your audience.
- Considers Time Factor: You would be able to save time using group emails instead of manually typing in all the emails.
Moreover, it ensures the delivery of timely emails. When you need to inform your group of a scheduled event, you can use group emails to make sure everyone gets the message.
- Free-to-use: Group emails are widely known as the conventional method of mass emailing. It is completely free and uses the native features of Google.
In the next section, we will talk about some drawbacks associated with this feature.
Drawbacks of Creating Group Emails
After you are done creating the group emails, you can utilize its feature to the max. However, after using it for a while, you will realize that it also has its limitations.
- Automated Follow-up is not Available
You will be shocked to know that Google Contacts relies heavily on manual processes to manage queries. So, if there is no follow-up message from the recipients after your email, you must address them personally. As there is no way to automate the follow-up email.
- Constant Updates Become a Nuisance
When you are required to assign tasks to a specific segment, you must manually add or remove the member. Hence, it becomes a repetitive task and, as a result, a nuisance.In case you have multiple groups, it is going to be a headache to manage the participants.
- Limited Analytics and Tracking
You can’t track members’ behavioral activities through analytics or reports. Hence, you must manually track metrics such as response times and member interaction.
Tips to Manage Email Groups in Google Contacts
Email groups can streamline productivity and enhance smooth interaction between members, but only if you use them in the right manner. Here are some tips that may help you:
Update Regularly
Remember to constantly update or else the pile of contacts may lead to severe issues. Here’s how to do it:
- Open Google contacts.
- Click on Merge and Fix from the menu to clean out the repetitive or inactive contacts.
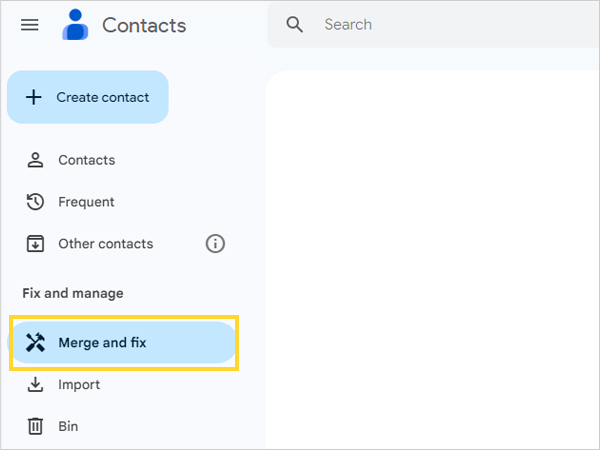
- Delete the contacts that are not required anymore.
- Perform the necessary changes, like typos, misspellings, or add department names.
Ensure to Categorize the Discussions with Labels
It could be hard to manage the conversations when you have a large group. So, categorize your discussions to easily locate the conversations and maintain a clutter-free inbox.
Suppose you have a project group, then you can choose categories like “Resource Sharing,” “Group Discussion,” or “Personal Chat”.
Add Personalization
Customize your group’s communication to increase engagement and ensure relevancy. For that, you need to understand the shared interests and goals of the members.
It will help you create content that resonates with a larger audience. Moreover, you can prevent off-topic and irrelevant conversations in the group.
Manage Group Settings
If you plan to use Google Contacts, you must know beforehand that you don’t get much control over group management. You can only perform three functions: add a contact, remove a contact, or edit or delete the group.
To add or remove a contact, you can click on the manage labels button. For editing or deleting, you can just point to the group, and you will see the desired menu. Choose from the menu and you are done.
Monitor the Activities
You can’t just create a group and leave it. You have to constantly monitor the activities to ensure effective management. Monitor how the members behave, and don’t hesitate to remove a participant if there is a long period of inactivity.
Regular reviews, monitoring inactivity periods, and communication practices may help you efficiently manage the group.
Conclusion
With group emails, you can add or remove contacts anytime and enjoy the ease of sending mass emails to a large segment of the audience. For troubleshooting issues, visit the Contacts help page.
In case you are looking for a platform that gives you more control over the group management settings. Try Google Groups! It is also a Google native product, and it’s free. You can also visit the Google Groups help page to get more information.
Also read: How to do Gmail Search by Date: Ultimate Guide to Find the Older Emails in 2024
FAQs
Ans: To make a group email in Gmail:
- Head to Google contacts.
- Now, click on the + beside the Labels.
- Name the label, and press save.
- Go to frequents, and select the contact you wish to add to the group.
- Click on the manage label icon and choose the label you created to add the contacts to the group.
Ans: To send emails to the email group:
- Head to Gmail, and click on compose.
- Now, add your group’s name in the ‘To’ field.
- Compose your message and hit send.
Ans: To hide the recipient’s name in the email group:
- Head to Gmail and click on compose.
- In the ‘To’ field, enter ‘Undisclosed Recipients
’ - Now, click on Bcc beside the To field. Enter the group’s name in the Bcc field.
- Compose your email and hit send.
Source Links
- How to Create an Email Group in Gmail Using Google Contacts?
- How to Create Group Email in Gmail Mobile App (Android and iPhone)?
- How to Create a Group Email Account Using Google Groups?
- How to Send a Group Email in Gmail?
- Benefits of Creating Group Emails
- Drawbacks of Creating Group Emails
- Tips to Manage Email Groups in Google Contacts
- Conclusion
- FAQs